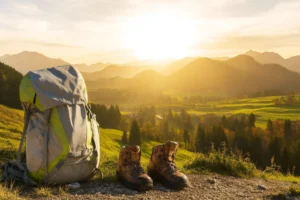
When it comes to hiking, your boots are not just another piece of gear — they’re the foundation of every step you take. The right pair can mean the difference between an unforgettable adventure and a painful, blister-filled ordeal. As someone who’s spent years hiking everything from muddy Baltic trails to steep alpine passes, I’ve learned that learning how to choose hiking boots is both science and personal preference.
👉 Whether you’re a weekend hiker or planning a long trek abroad,
this is your step-by-step guide on how to choose hiking boots that fit perfectly, perform reliably, and keep your feet happy on every trail.
Key Takeaways 🗝️
- Start with your terrain and load — light, low-cut shoes suit forest trails; sturdy mid or high-cut boots fit mountains and heavy packs.
- Fit is non-negotiable — measure late in the day, test with hiking socks, and leave a finger’s width for your toes.
- Choose the right material — full-grain leather for wet or alpine routes; synthetic mesh for warm, dry weather.
- Check waterproofing — look for Gore-Tex or similar membrane if you often hike in rain or cross streams.
- Inspect the sole — Vibram or Contagrip outsoles give the best traction and durability on mixed terrain.
Boot Types & When to Use Them
Choosing well starts with the basics of how to choose hiking boots: match boot type to your terrain, climate, and pack weight. Height, stiffness, and weight decide how much support and protection you get.
Low-cut hiking shoes / trail shoes
Light, breathable, and flexible—perfect for dry, easy trails and fast day hikes with a light pack. The trade-off is minimal ankle support and less protection on sharp, rocky ground.
Mid-cut boots
My most versatile choice. They cover the ankle for noticeably better stability without feeling restrictive. Ideal for mixed terrain, weekend trips, and moderate loads where you want balance rather than extremes.
High-cut backpacking / mountaineering boots
Built for mountains, heavy packs, and technical ground. You get maximum ankle support, torsional stability, and rock protection. They’re heavier and usually need a longer “get used to” period, but pay you back when the trail gets steep, loose, or wet.
💬 Marcus’ field note: If your pack is under ~12–15 kg and your routes are mixed forest trails with some rocks and roots, a modern mid-cut will feel like cheating—secure heel hold without the brick-like feel of old-school leather tanks.
| Type | Best For | Pros | Cons |
|---|---|---|---|
| Low-cut | Dry, easy trails; fast day hikes | Very light, breathable, flexible | Least ankle support/protection |
| Mid-cut | Mixed terrain; weekend trips | Balanced stability vs. comfort | A bit heavier than low-cut |
| High-cut | Mountains; heavy packs; technical ground | Max ankle support & control | Heavier; longer “get used to” period |
Sizing & Fit (Buying Online)
Getting the fit right is the most important part of how to choose hiking boots. Measure your foot length at the end of the day and compare it with the brand’s chart — some brands (like Salomon or La Sportiva) run narrower, while others (like Merrell or Keen) are wider.
Start by trying your new boots indoors only and with hiking socks. Lace them firmly, walk around for 10–15 minutes, and make sure you have about a finger’s width in front of the toes. On a simulated descent (a ramp or step), your toes should stay clear of the front. If the heel lifts, the boot is too big or the shape doesn’t suit your foot.
Between sizes? Go half a size up — especially if you hike in thick socks or colder weather. Once the size feels right indoors, take a few short outdoor walks before any long or steep trip to break them in gradually.
🧭 How to measure your foot correctly
- Measure foot length at the end of the day when your feet are slightly swollen — this gives a realistic result.
- Stand with your heel against a wall, mark the tip of your longest toe, then measure the distance in centimeters.
- Compare the result with the brand’s size chart (Hoka, Salomon, Merrell may differ slightly).
- Also consider foot width — some models use a wider last, others are built narrower.
📏 For detailed men’s and women’s sizing charts (including EU, UK, and US conversions), see the official Hanwag Size Chart .
👣 The 3 Quick Fit Tests
- 1️⃣ Finger Test (Heel Check): Loosen laces, slide your foot forward, and check if one finger fits behind your heel. Too tight → small; too loose → big.
- 2️⃣ Toe Space Test (Slope Check): Lace up, stand on a slope or tap the toe — toes must not hit the front.
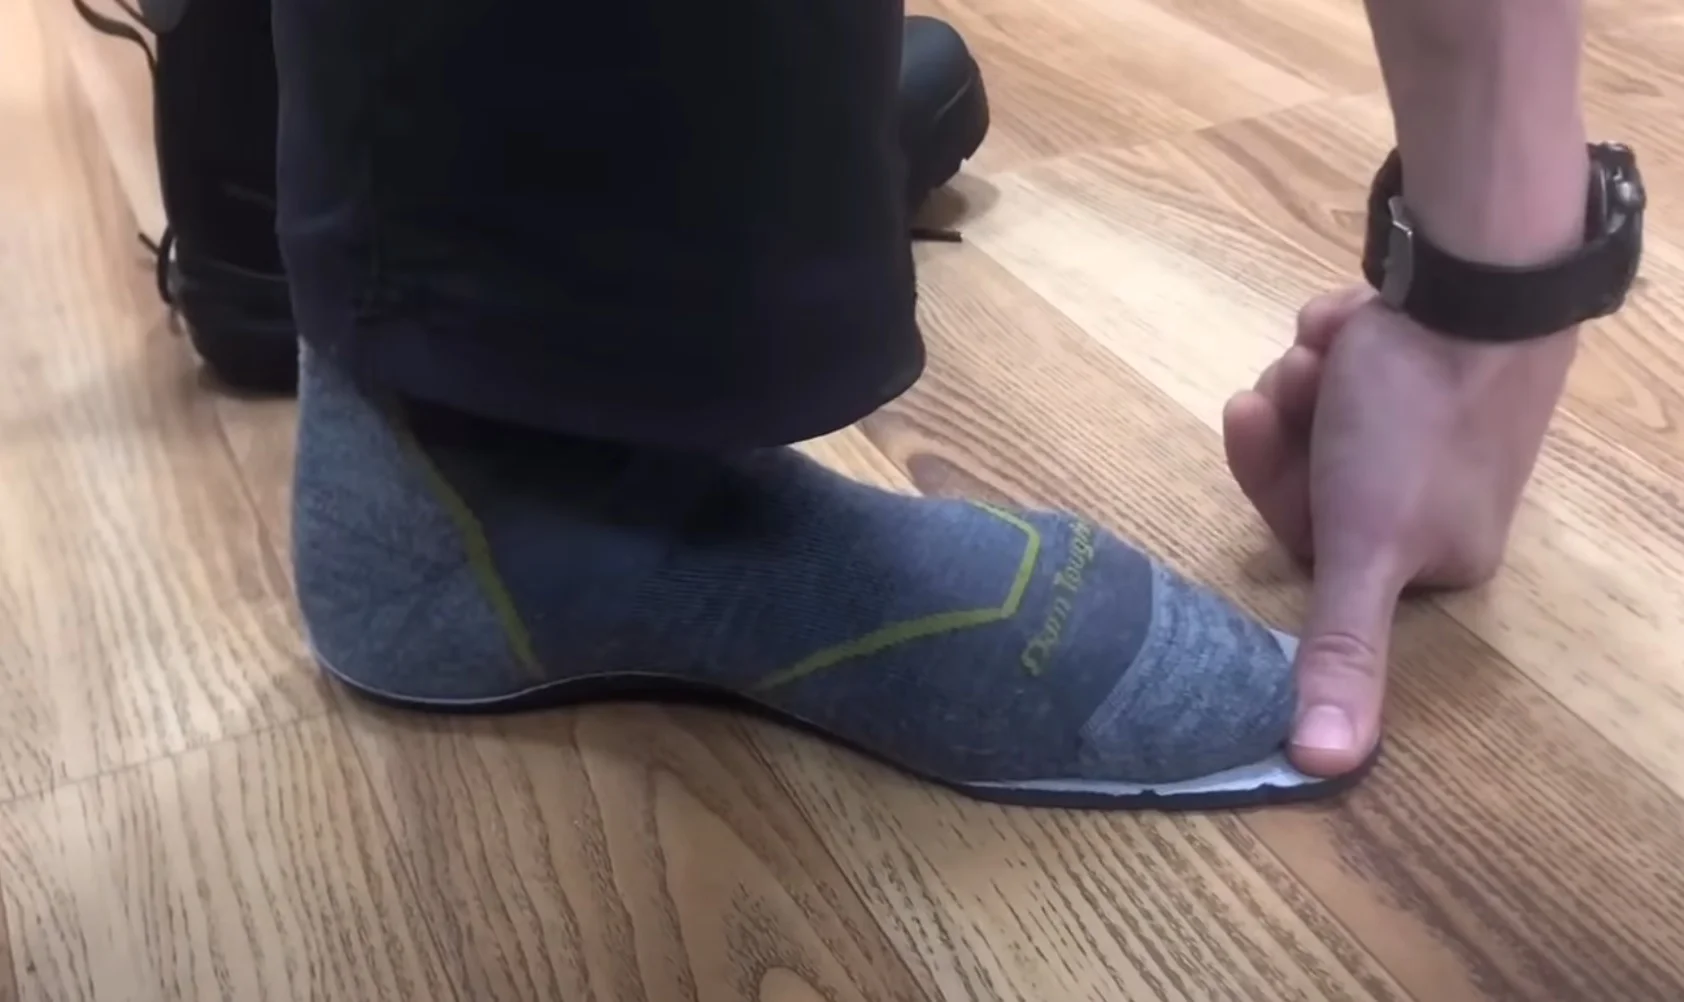
- 3️⃣ Insole Test (Visual Check): Step on the insole; with your heel at the back, you should have just one thumb’s width of space in front.
📦 Buying online – test & return
- Walk indoors for 10–15 minutes; heels and ankles should stay secure.
- If something pinches, don’t wear them outside — keep them clean for return or exchange.
- Reputable stores (e.g., Amazon, SportShoes, Bergfreunde) offer free returns, so it’s fine to try two sizes.
- Once you’ve found the right fit, wear them at home for a few evenings so the boot starts adapting to your foot.
🧠 For additional expert advice on measuring fit and trying boots at home, check out REI’s Expert Advice – How to Choose Hiking Boots .
Accurate sizing is one of the key steps in learning how to choose hiking boots that truly fit you.
Materials & Waterproofing
Once you’ve nailed the fit, the next step in learning how to choose hiking boots is understanding what they’re made of — because the material determines how your boots breathe, flex, and handle wet conditions.
🥾 Full-grain leather
- The classic choice for serious backpackers — thick, durable, and highly water-resistant.
- Ideal for alpine routes, long treks, and rough trails.
- Best for: wet climates, heavy packs, rocky terrain.
- Downside: not as breathable and dries slowly if soaked; heavier and needs more break-in time.
🪶 Nubuck leather
- Sanded full-grain leather that feels softer and more flexible but still tough.
- Common in premium boots (like the Salomon Quest 4 GTX) for balanced comfort and durability.
- Best for: multi-day hikes, moderate terrain, and variable conditions.
🌤️ Synthetic (nylon or mesh)
- Modern and lightweight; dries quickly and needs little maintenance.
- Usually reinforced for structure and toe protection.
- Best for: warm or dry climates, day hikes, and fast-and-light trekking.
- Downside: wears out faster than leather and offers less insulation.
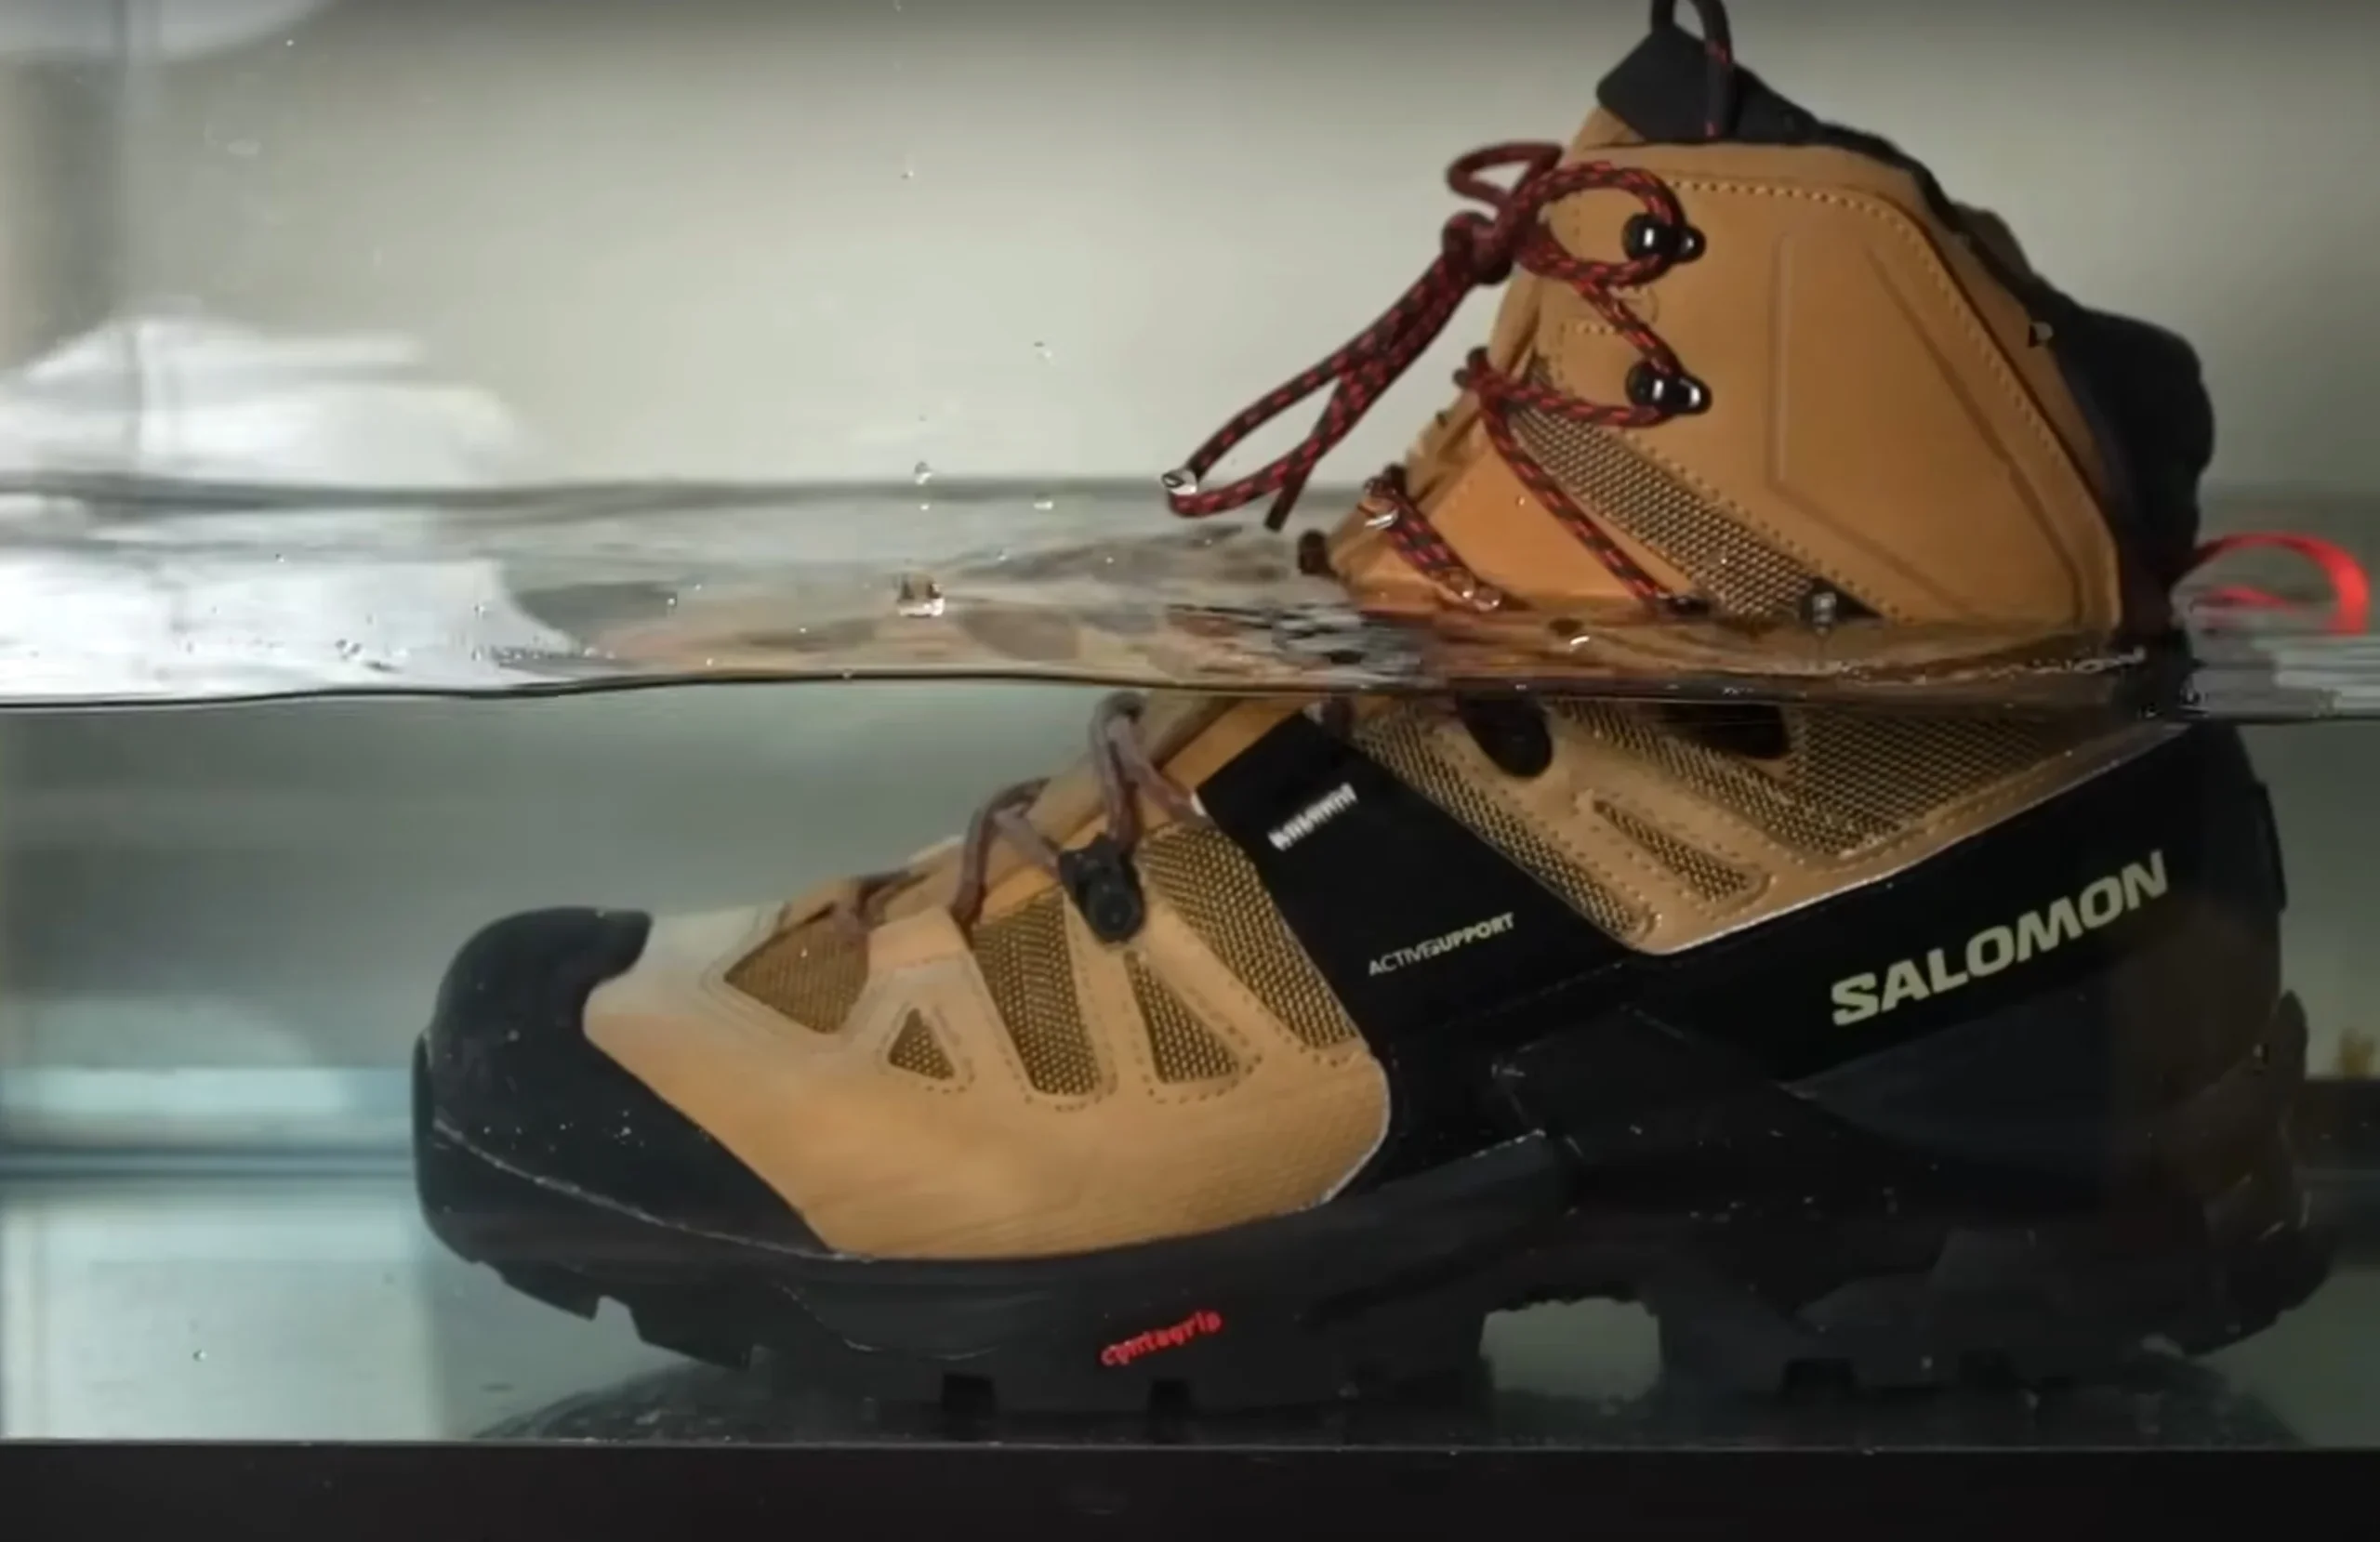
🌧️ Waterproof membranes (Gore-Tex, eVent, or in-house tech)
- A thin inner layer that blocks water while allowing moisture to escape.
- Gore-Tex is the gold standard, but other solid options include Merrell Dry and Salomon ClimaShield. You can usually spot Gore-Tex boots by the small black label near the ankle or tongue that reads “GORE-TEX” — it’s a quick way to confirm you’re getting genuine waterproof protection.
- Best for: wet or snowy conditions, creek crossings, and year-round hiking.
- Downside: less breathable in hot weather; needs DWR reproofing over time.
- For additional background on hiking boot fit and care, see the page or Gore-Tex overview on Wikipedia.
💬 Marcus’ insight: I’ve hiked in everything from all-leather tanks to airy mesh boots, and the truth is simple — no material wins in every scenario. I use leather for mountain trips, synthetics for summer hikes, and Gore-Tex mids for those unpredictable, mixed-weather days.
Understanding materials is one of the key parts of learning how to choose hiking boots that suit your terrain and climate.
| Material | Pros | Cons | Best Use |
|---|---|---|---|
| Full-grain leather | Most durable; supportive; naturally water-resistant & warm | Heavier; slow to dry; needs conditioning | Mountains; wet/cold seasons; heavy packs |
| Nubuck leather | Great balance of comfort, support & durability | Needs regular care; a bit heavy | Multi-day treks; cooler climates |
| Synthetics (mesh/nylon) | Light; breathable; quick-dry; simple upkeep | Less durable/warm than leather | Summer; dry climates; fast hiking |
| Waterproof membrane | Rain/snow barrier; allows moisture out | Warmer in heat; DWR maintenance | Wet, snowy, or variable weather |
| No membrane | Coolest & most breathable; dries fastest | No rain protection | Hot/dry climates; frequent creek crossings |
Sole Construction & Traction
When it comes to how to choose hiking boots, the sole is the unsung hero that decides whether your steps feel stable or slippery. I’ve tested everything from ultralight trail shoes to heavy-duty mountain boots, and I can tell you — the right sole makes the difference between confident footing and a near-slide on wet rock. Below’s a quick breakdown of what each layer does and what to look for when you’re choosing your next pair.
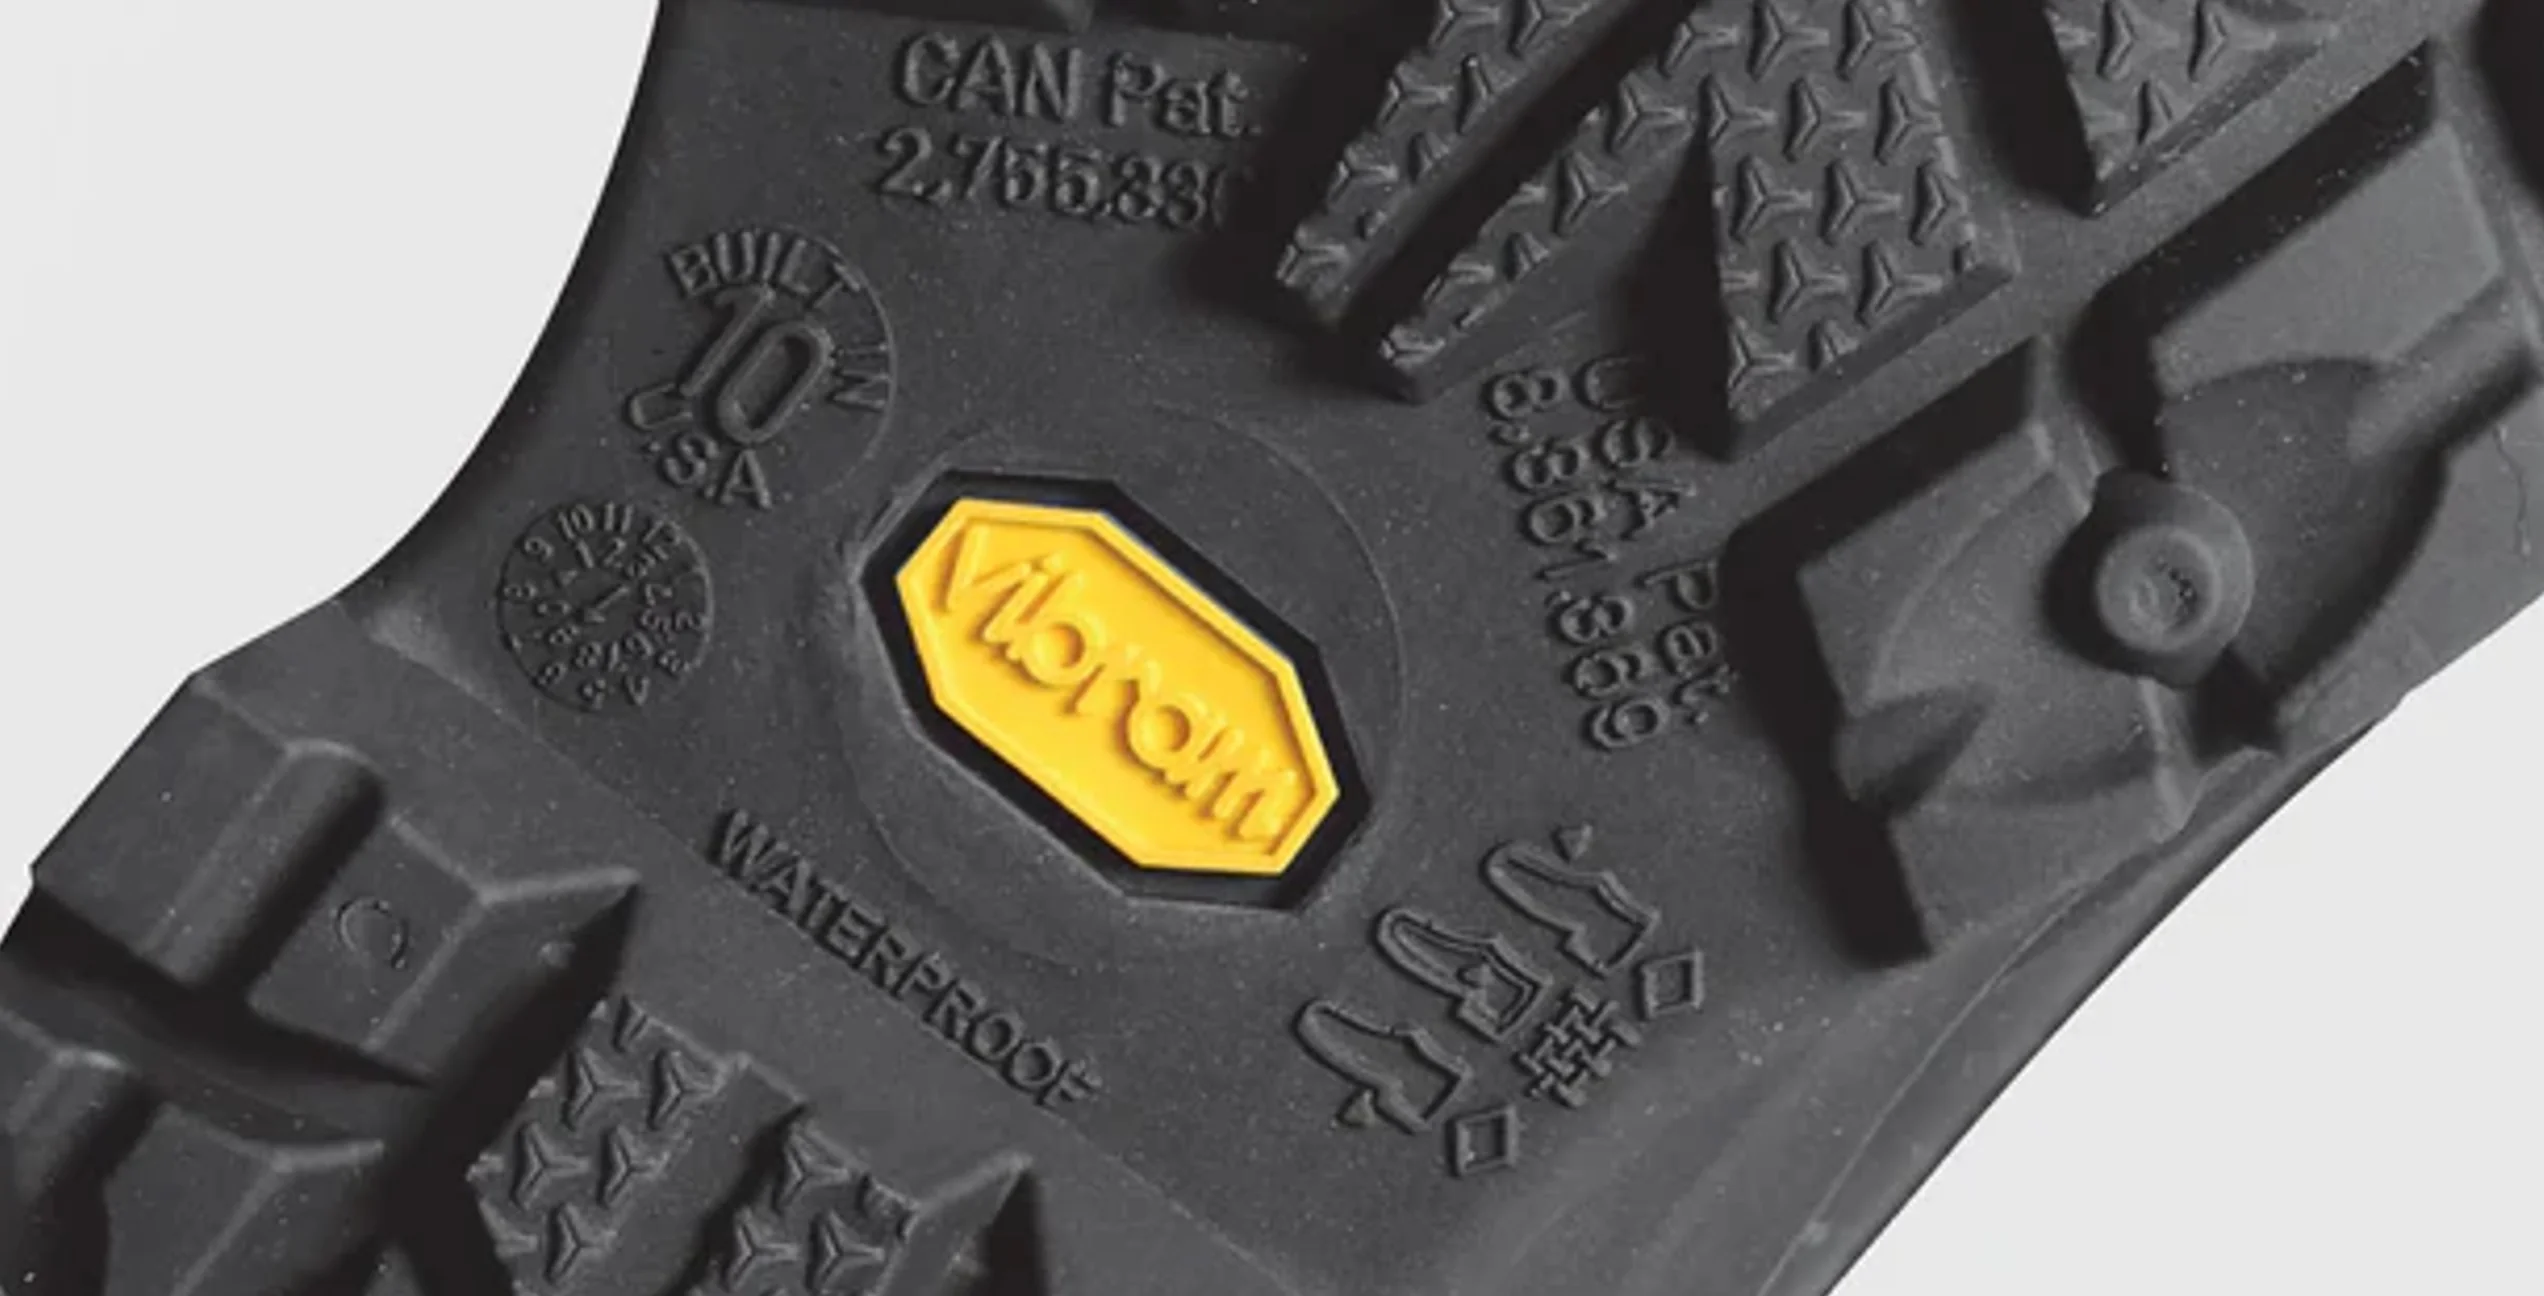
🧱 Outsole (Grip & Protection)
- Quality rubber compounds like Vibram or Contagrip, often used by premium brands, are a reliable sign of good craftsmanship — they’re tested for grip and wear resistance.
- Learn more on Wikipedia – Vibram.
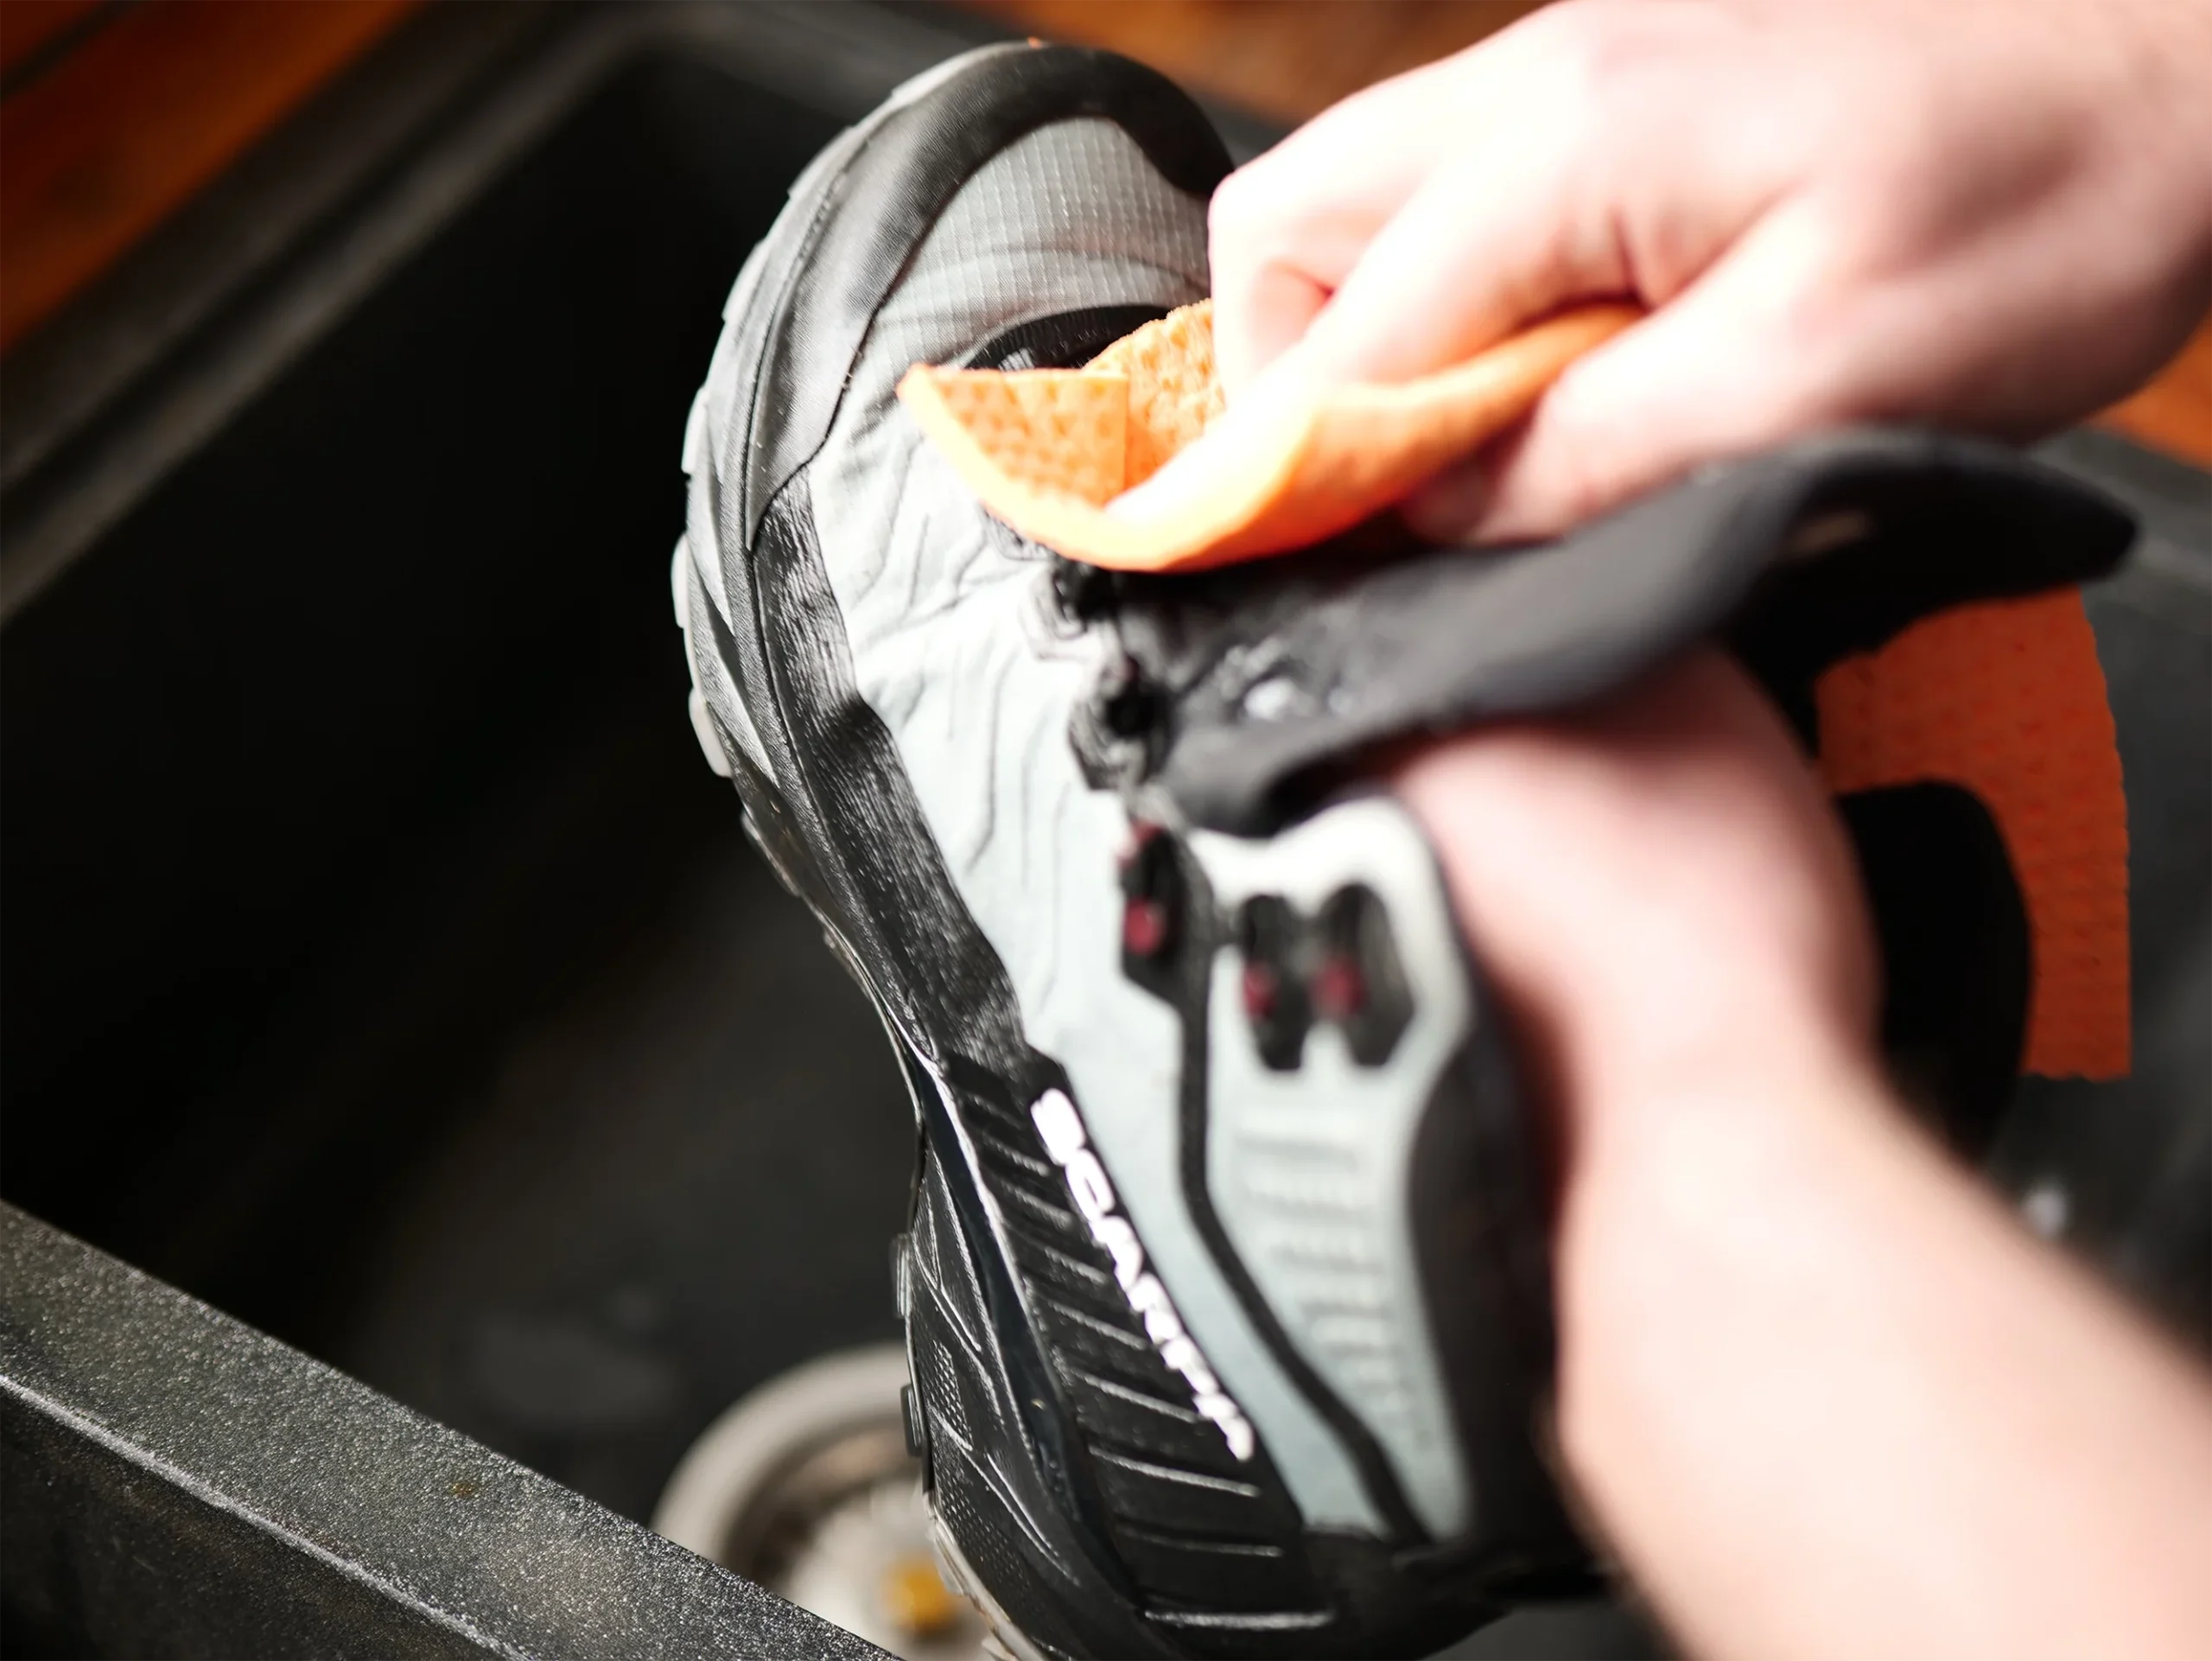
- Wider channels between lugs shed mud so your sole doesn’t clog on soft or clay trails. Tip: clean them occasionally — clogged lugs lose up to 30% of their traction.
- For flat, dry terrain choose a lower-profile lug (lighter and more flexible); for mud or snow, go with deeper, aggressive tread. Rule of thumb: the deeper the lug, the slower but safer the step.
🦵 Midsole (Cushioning & Support)
- EVA foam – soft, lightweight, and shock-absorbing. Ideal for day hikes and fast trekkers. Tip: compresses faster over time, so expect to replace lighter boots sooner.
- PU (Polyurethane) – firmer, tougher, and perfect for heavy packs and rocky alpine terrain. Good to know: it keeps its shape longer and doesn’t “bottom out.”
- Some premium boots mix densities for the best of both worlds: comfort + control. Look for: dual-density midsoles if you want one boot for all seasons.
🩰 Insole (Underfoot Feel)
- Supports the arch and spreads pressure evenly; many models use removable insoles so you can customize fit.
- If your forefoot tingles or instep feels tight, try after-market insoles (Superfeet, Sidas) or adjust the lacing tension. Tip: a $30 insole upgrade can fix a $300 boot’s comfort issue instantly.
🛡️ Stiffeners (Shank & Rock Plates)
- A ¾-length shank keeps the boot flexible and comfortable; a full-length shank maximizes stability on steep slopes.
- Rock plates protect your feet from bruising on sharp stones and reduce fatigue on long scree descents. Note: you’ll feel less “trail feedback,” but gain protection and control.
⚖️ Flex & Stiffness Tips
- Day hikes / light packs → choose more flex for natural movement and comfort.
- Multi-day trips / heavy loads → firmer midsoles and supportive shanks keep your stride efficient and ankles steady. Test it: if you can twist the boot easily by hand, it’s made for lighter trails.
💬 Marcus’ field note: On my first serious mountain trek, I thought comfort meant “soft soles.” One rainy afternoon on slick granite taught me otherwise. Since then, I never skip checking the outsole pattern and stiffness. A solid Vibram sole with a bit of edge bite gives me trust in every step — because when the trail tilts or gets muddy, confidence starts from the ground up.
Understanding sole construction is one of the most practical parts of learning how to choose hiking boots that perform well on your terrain.
| Sole Part | Function | Benefits | Best For |
|---|---|---|---|
| Outsole (e.g., Vibram/Contagrip) | Traction & abrasion resistance | Secure grip on wet/dry rock, roots, mud | All hikers; wet/mixed terrain |
| Midsole (EVA) | Cushioning & comfort | Light, plush underfoot feel | Day hikes; comfort-first |
| Midsole (PU) | Support under load | Durable, resists compression | Heavy packs; long treks |
| Insole | Underfoot support | Fine-tunes fit & pressure spread | Custom comfort |
| Shank / Rock plate | Stiffness & stone protection | Less fatigue; more control | Steep, rocky terrain |
Ankle Support and Stability – Why Shaft Height Matters
When hikers talk about how to choose hiking boots, they often overlook one of the biggest comfort factors — the shaft height. It’s not just about how the boot looks; it’s about how much control, protection, and balance you’ll feel on uneven ground. Over the years, I’ve learned that the right height can save your ankles, especially when you’re tired and carrying weight.
Here’s how each boot height performs on the trail, depending on your terrain and hiking style:
🔹 Low-cut (freedom & speed)
- Lightest and most breathable option for dry, easy trails and fast day hikes.
- Gives full ankle mobility and a natural stride — feels more like running shoes.
- Trade-off: least ankle support and less protection from sharp rocks or brush.
🔸 Mid-cut (balanced control)
- The most versatile height — great for mixed terrain and weekend backpacking trips.
- Offers noticeably better ankle stability than low-cut boots without feeling restrictive.
- Trade-off: slightly heavier and warmer, but gives more confidence on uneven trails.
🔺 High-cut (maximum stability)
- Best for mountain routes, heavy backpacks, and off-trail adventures.
- High collar and stiffer build help prevent ankle rolls and reduce fatigue under load.
- Trade-off: heavier, warmer, and usually needs a longer break-in period.
💡 Quick tips
- Go for mid or high-cut boots if you often carry more than 12–15 kg or hike on rocky, unstable ground.
- Choose low or mid-cut boots in hot climates and on well-made trails where breathability matters.
- Remember: correct lacing and toe room matter as much as height for downhill comfort.
💬 Marcus’ field note: I used to think high-cut boots were overkill — until I rolled my ankle halfway through a ridge trail in Norway. Since then, I match boot height to terrain and pack weight. Mid-cut models are my sweet spot for most hikes, but when I’m heading into the mountains with a 20-kilo pack, that extra ankle support feels like armor.
Weight vs Durability — Finding the Sweet Spot
At some point every hiker has to balance comfort against toughness. When you’re figuring out how to choose hiking boots, it’s tempting to assume lighter is always better. But weight, support, and longevity are a three-way trade. The sweet spot depends on your distance, terrain, and pack weight.
My rule after a lot of testing is simple: choose the lightest boot that still gives you the protection your terrain demands. That might be a featherweight pair for dry forest loops, a mid-weight all-rounder for mixed Baltic trails, or a burly leather boot for winter and heavy loads.
🪶 Light boots (< 1 kg / pair)
- Feel like sporty footwear: flexible, breathable, quick to “get used to”.
- Great for warm weather, maintained trails, and fast day hikes with light packs.
- Trade-offs: less protection and support on sharp rock, cold rain, or with heavier loads.
⚖️ Mid-weight boots (1–1.5 kg / pair)
- The best all-round balance of comfort, support, and durability for most hikers.
- Often combine leather + synthetics; enough structure for mixed terrain and weekend treks.
- Trade-offs: not as airy as the lightest options, but far more confidence on uneven ground.
🧱 Heavy-duty boots (> 1.5 kg / pair)
- Maximum stability, rock protection, and weather resistance for mountains and winter.
- Shine with heavy packs and off-trail use; uppers and soles typically last longer.
- Trade-offs: heavier and usually need a longer “get used to” period before big trips.
💡 Quick rules of thumb
- Hot/dry climate or fast day hikes → lean lighter for breathability and comfort.
- Mixed terrain, most weekends → mid-weight is the safest single-pair choice.
- Mountains, winter, or heavy packs → choose supportive, heavier-duty boots.
💬 Marcus’ field note: The first time I dropped from a 1.8 kg leather boot to a sub-kilo pair, I felt unstoppable — until wet granite reminded me why structure matters. Since then I’ve stuck to this balance rule and my feet have thanked me on every descent.
Care & Longevity
Good care keeps your boots supportive, waterproof, and comfortable for years. It’s the quiet part of how to choose hiking boots that most people skip—clean, dry, protect, and store them right. Here’s the routine I use and recommend.
🧼 Clean after each hike
- Brush off mud and grit with a soft brush; use cool water if needed.
- Clear the lugs so traction stays sharp next time (toothpick or small brush).
- Avoid harsh detergents or hot water—these can damage leather, glues, and membranes.
🌬️ Dry the right way
- Remove laces and insoles to speed airflow; dry at room temperature.
- Stuff with newspaper or bamboo inserts to pull moisture out.
- Never on a radiator, near a fire, or in direct sun—excess heat cracks leather and weakens adhesives.
🧴 Protect leather & renew DWR
- Leather uppers: condition periodically to keep them supple and water-resistant.
- Membrane boots (e.g., Gore-Tex): refresh the DWR on the outer fabric so water beads off instead of soaking in.
- Always apply to clean, dry boots for even absorption and best results.
🧳 Store smart
- Keep in a cool, dry, ventilated place—no damp basements or sealed plastic bags.
- Lightly stuff to maintain shape; avoid compressing collars and toe boxes.
♻️ Extend life with small fixes
- Replace insoles and laces when they’re tired—cheap upgrades that restore comfort.
- Watch outsole wear; when lugs look flat, traction drops. Some premium boots can be resoled—check your model.
- Small splits or loose stitching? A repair shop can often save the boot early.
Common Mistakes (and How to Fix Them)
Here are the pitfalls I see most often when people figure out how to choose hiking boots. Catching these early saves toes, ankles, and a lot of returns.
🎨 Buying for looks or price alone
- Pretty boots that don’t fit will still hurt by kilometer two.
- Prioritize fit, support, and traction; a fair price on the right boot is cheaper than replacing a “bargain” that fails mid-season.
👟 Choosing too small or the wrong last
- “Exactly sneaker-size” often means toe bang on descents.
- Leave a finger’s width up front; match brand last to your foot width/volume.
⏭️ Skipping the get-used-to period
- Confirm size indoors, then do a few short outdoor walks during the week.
- This reveals hot spots and lets materials adapt before big elevation days.
🌦️ Ignoring climate and terrain
- Hot, dry trails → breathable/no-membrane synthetics feel best.
- Wet/cold, mountains, or shoulder seasons → leather and/or Gore-Tex shine.
🪢 Lacing wrong for descents
- Loose forefoot can drive toes into the front on long downhills.
- Use a heel-lock (runner’s loop) and snug the instep zone before descending.
🧴 Neglecting care
- Mud left to dry, heat-drying, and skipping conditioning/DWR cut lifespan fast.
- Clean, dry at room temp, condition leather, renew DWR on waterproof models.
Recommendations — My Top Hiking Boots for 2025
Now that you know how to choose hiking boots, here are three models I trust because they connect the dots we covered: materials, waterproofing, outsole grip, midsole feel, and real ankle support. Pick the one that best matches your terrain, climate, and pack weight.
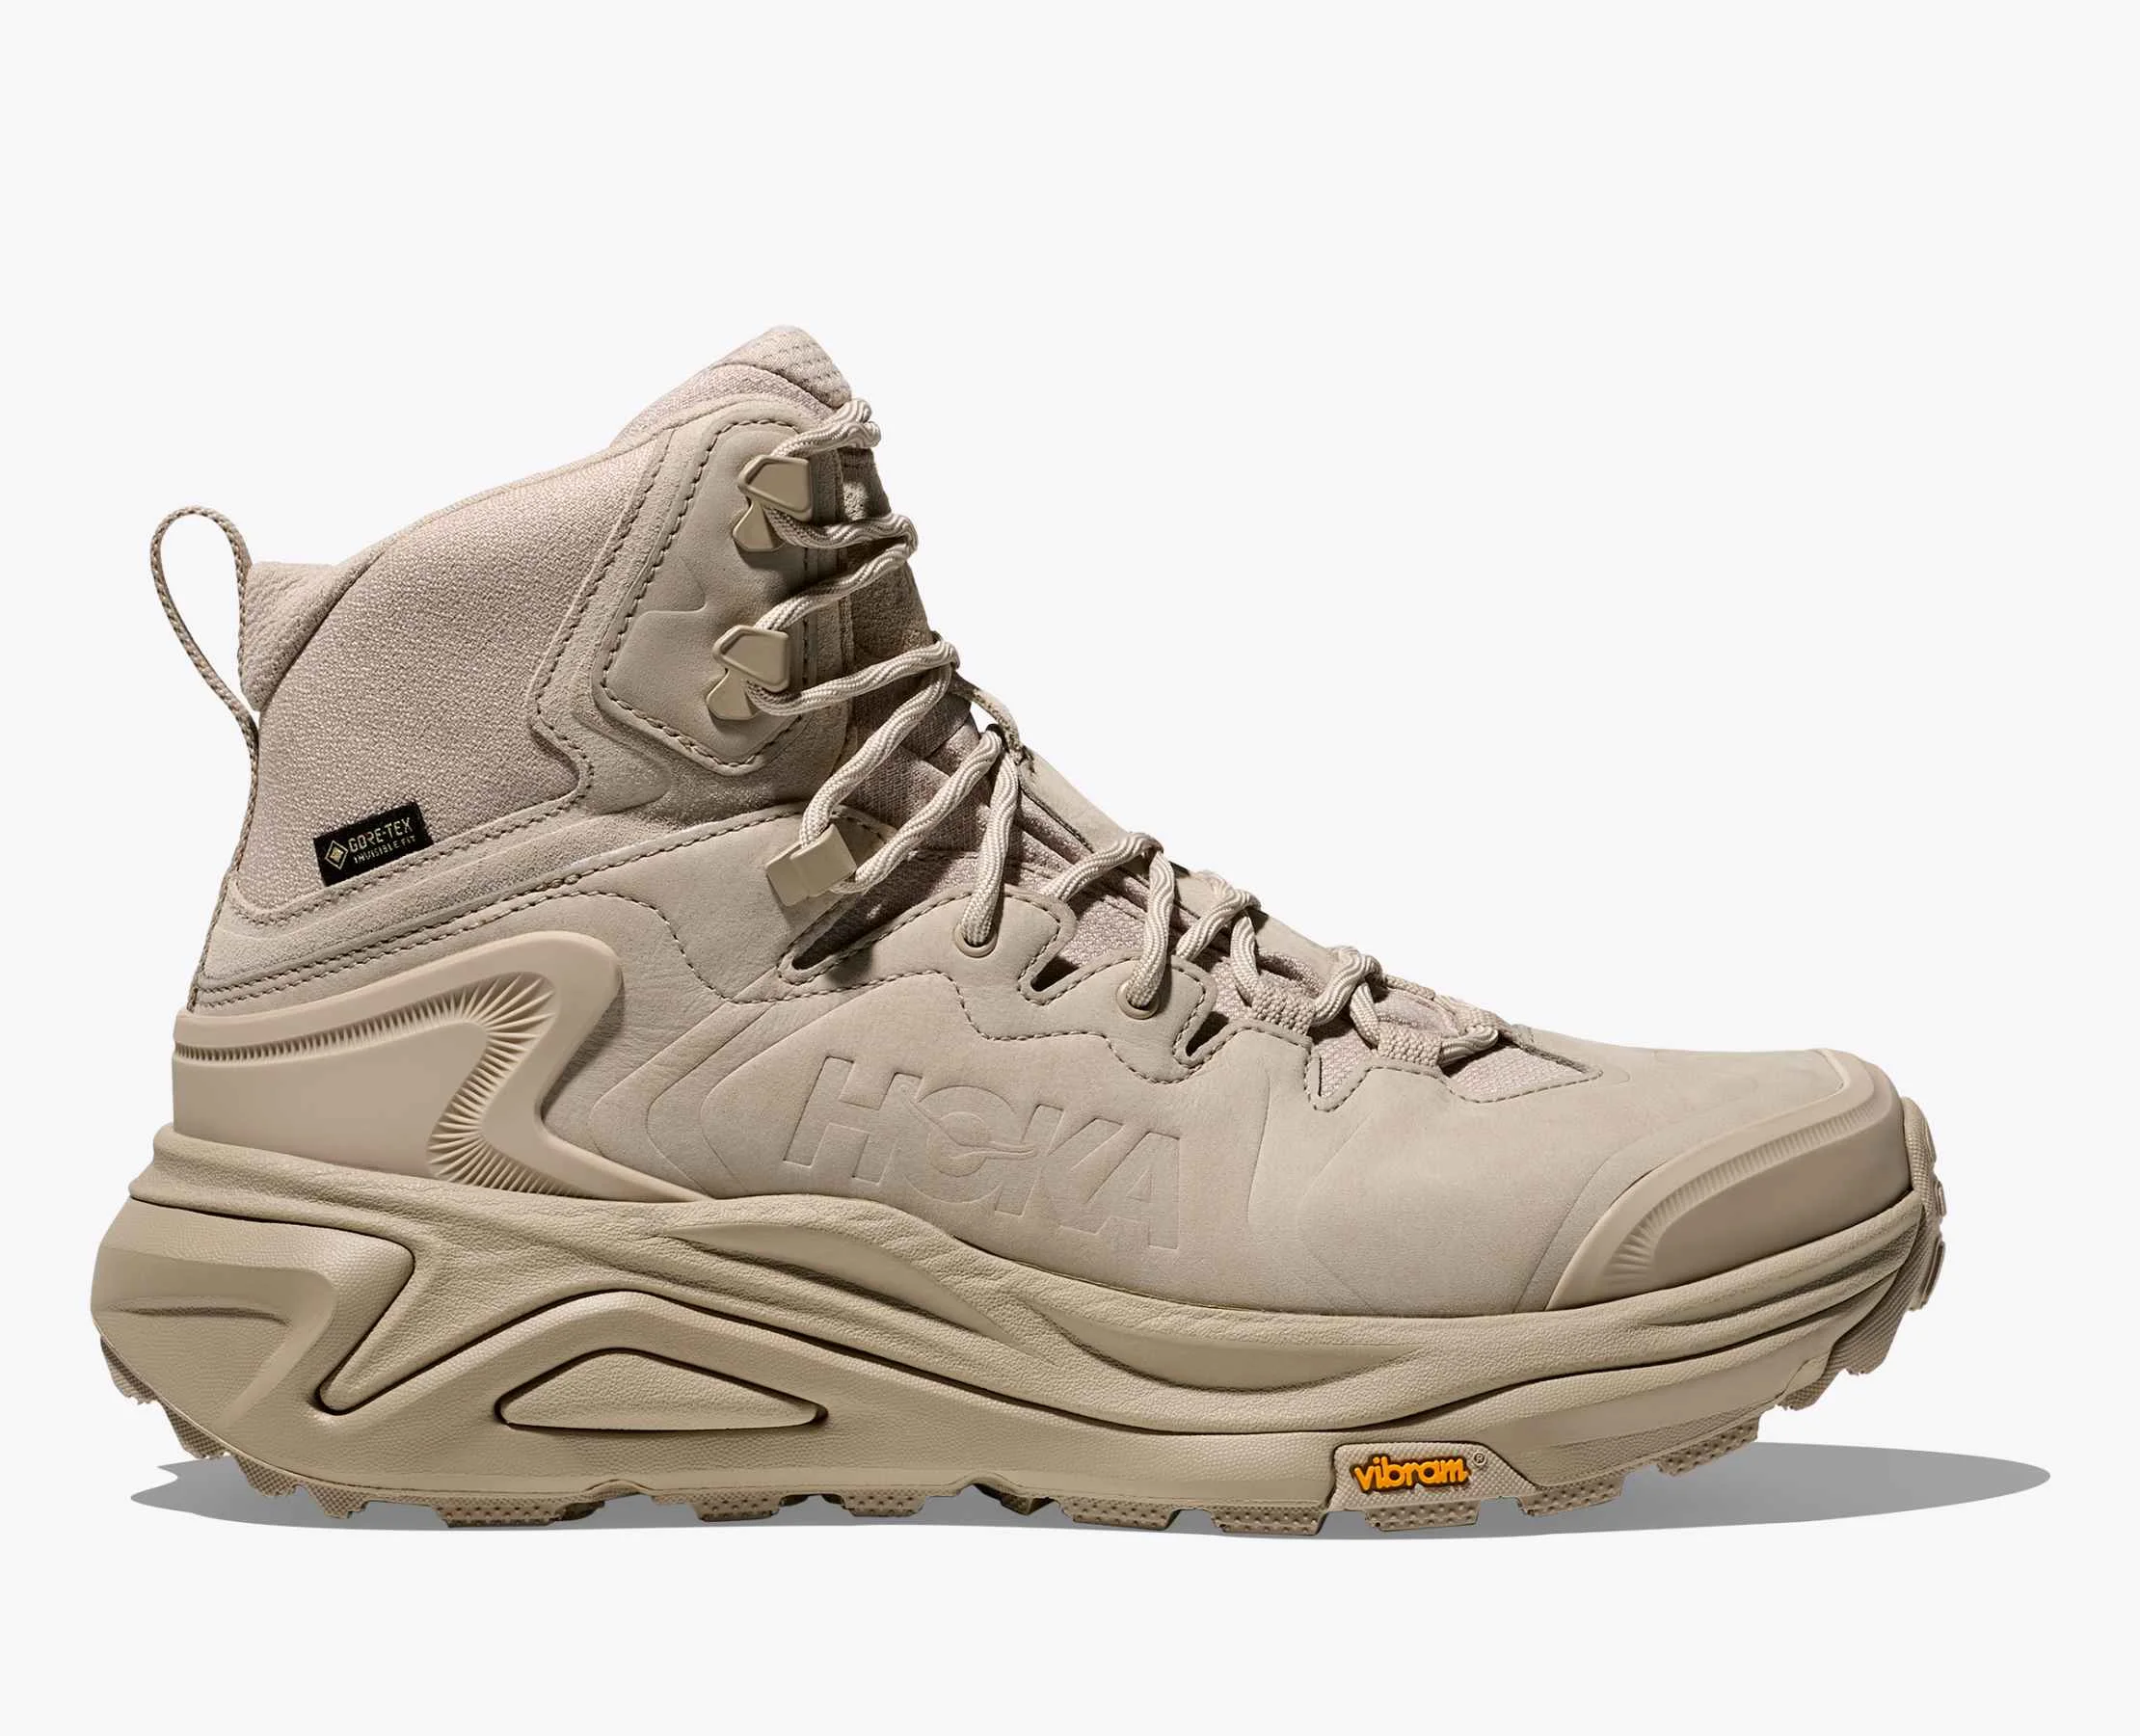
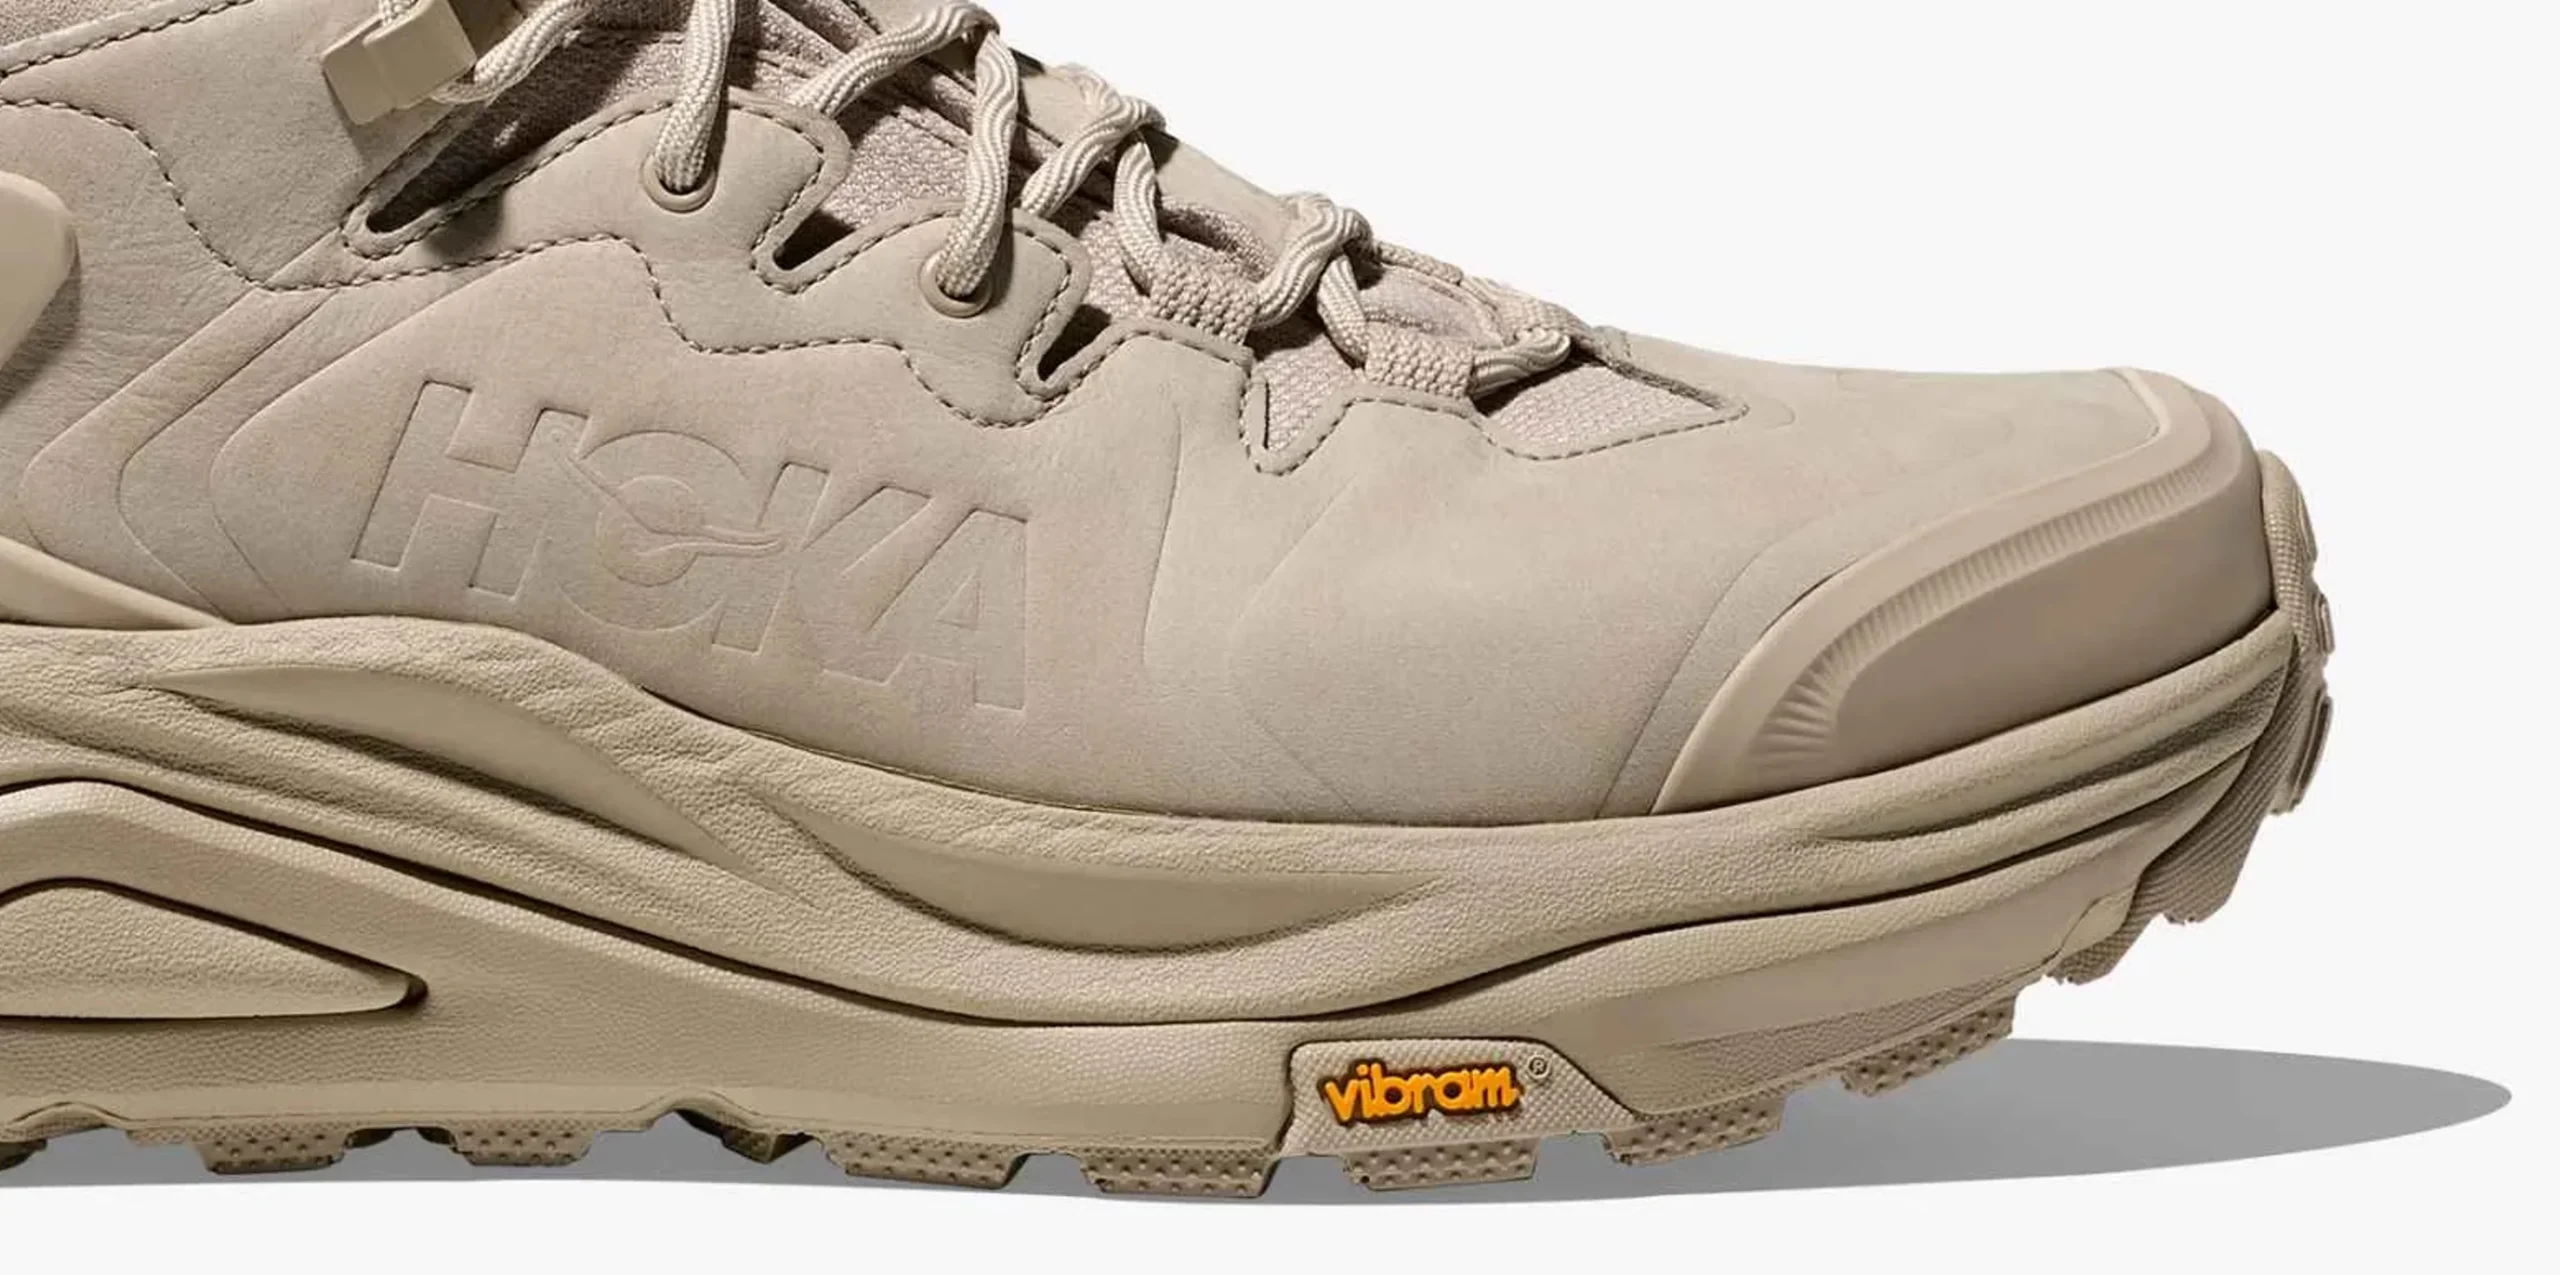
🥇 Hoka Kaha 3 GTX — ultimate comfort, strong support & waterproofing
Hoka is famous for exceptional cushioning and stability, and the Kaha 3 GTX adds the durability you want from a serious mountain-ready boot.
- 🧱 Materials: LWG-certified nubuck leather combined with synthetic textiles for durability and breathability.
- 🌧️ Waterproofing: Gore-Tex Invisible Fit keeps feet dry in rain and snow.
- ⚙️ Outsole & grip: Vibram Megagrip with ~4 mm lugs for secure traction on rock, wet slabs, and muddy trails.
- 🦶 Midsole: dual-density EVA delivers standout cushioning and balanced weight distribution even on 20+ km days.
- 🧍♀️ Support & stability: J-Frame guidance and a supportive collar keep your foot aligned, especially on descents.
- ⚖️ Weight: ~488 g per boot (women’s EU 38).
Read full Hoka Kaha 3 GTX review: Best Leather Womens Hiking Boots 2025 – Hoka Kaha 3 GTX
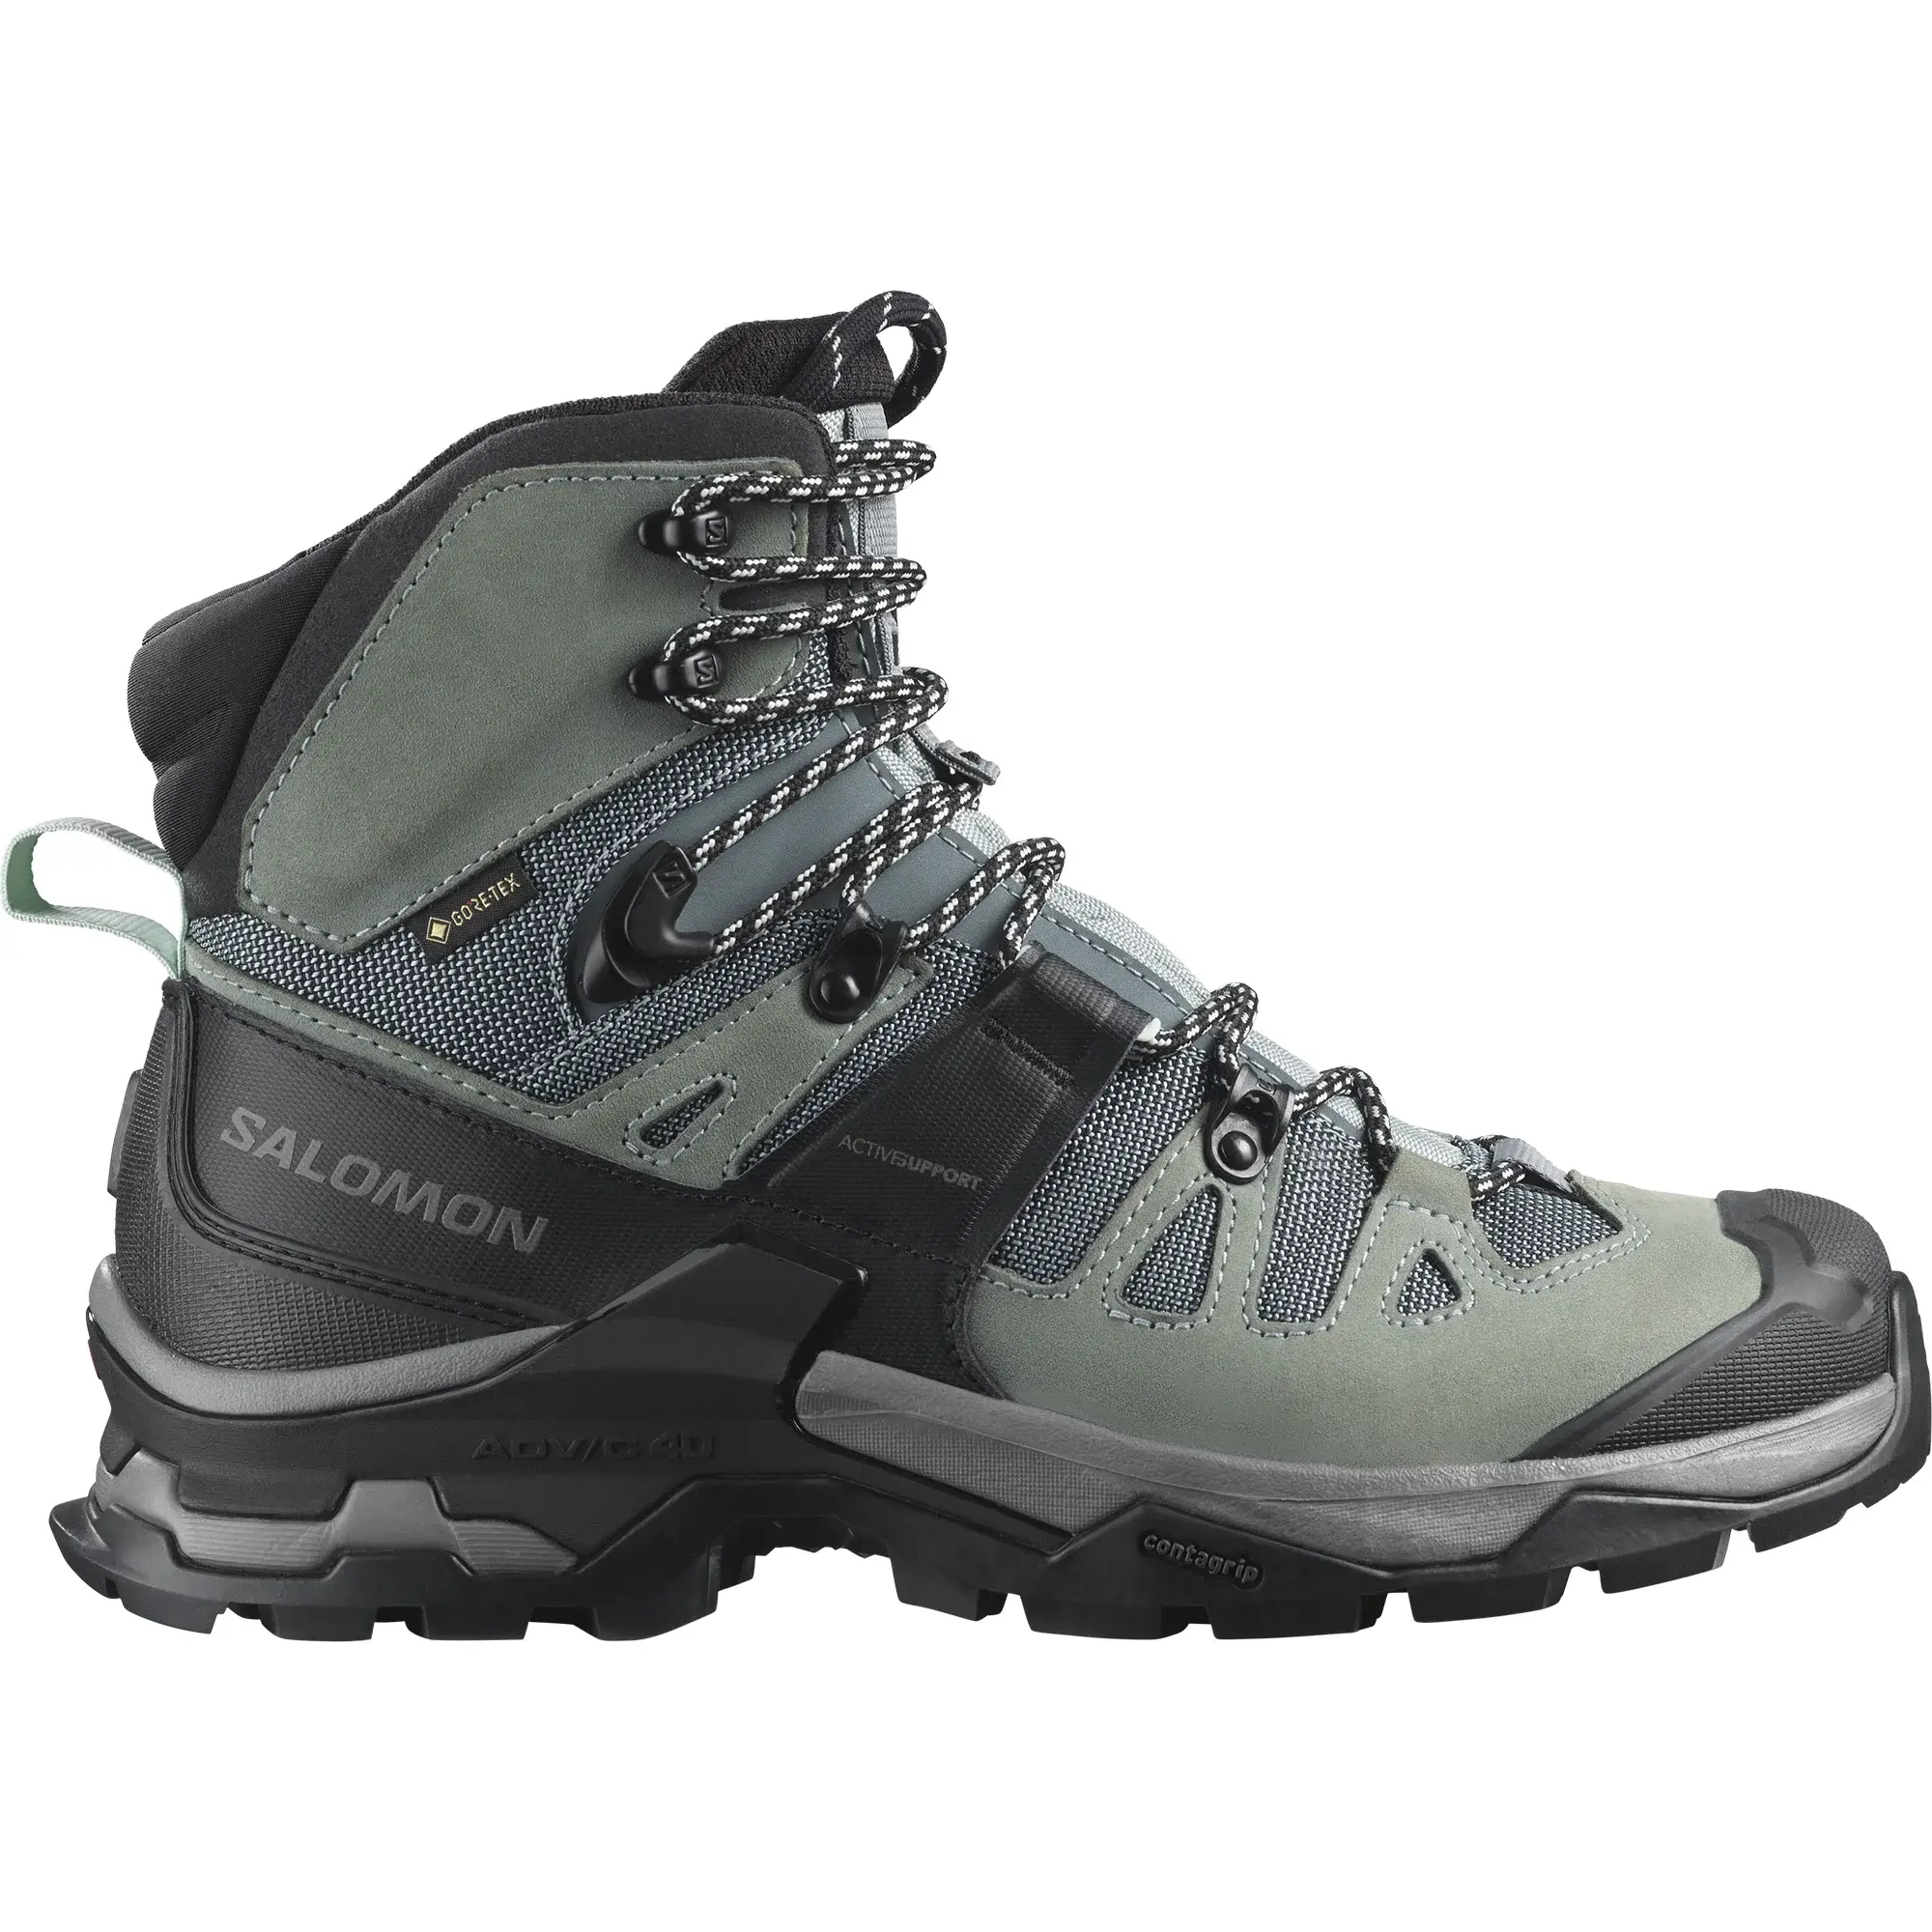
🥈 Salomon Quest 4 GTX — top choice for heavy loads & mountain terrain
Designed for stability and protection in demanding conditions where pack weight, steep ground, and variable weather are the norm.
- 🧱 Materials: durable nubuck leather + synthetic mesh — a robust upper that resists wear and moisture.
- 🌧️ Waterproofing: Gore-Tex membrane with DWR treatment keeps feet dry on extended wet days.
- ⚙️ Outsole: All-Terrain Contagrip® pattern for reliable bite on rock, wet dirt, and sandy surfaces.
- 🦵 Support: 4D Chassis™ ADV and a firmer midsole deliver maximum control and ankle support under heavy loads.
- 🧠 Design: reinforced rubber toe cap and high-cut collar add protection and longevity.
- ⚖️ Weight: ~640 g per boot (women’s EU 39).
Read full Salomon Quest 4 GTX review: Salomon Quest 4 Gore-Tex Review (2025) – Women’s Boots
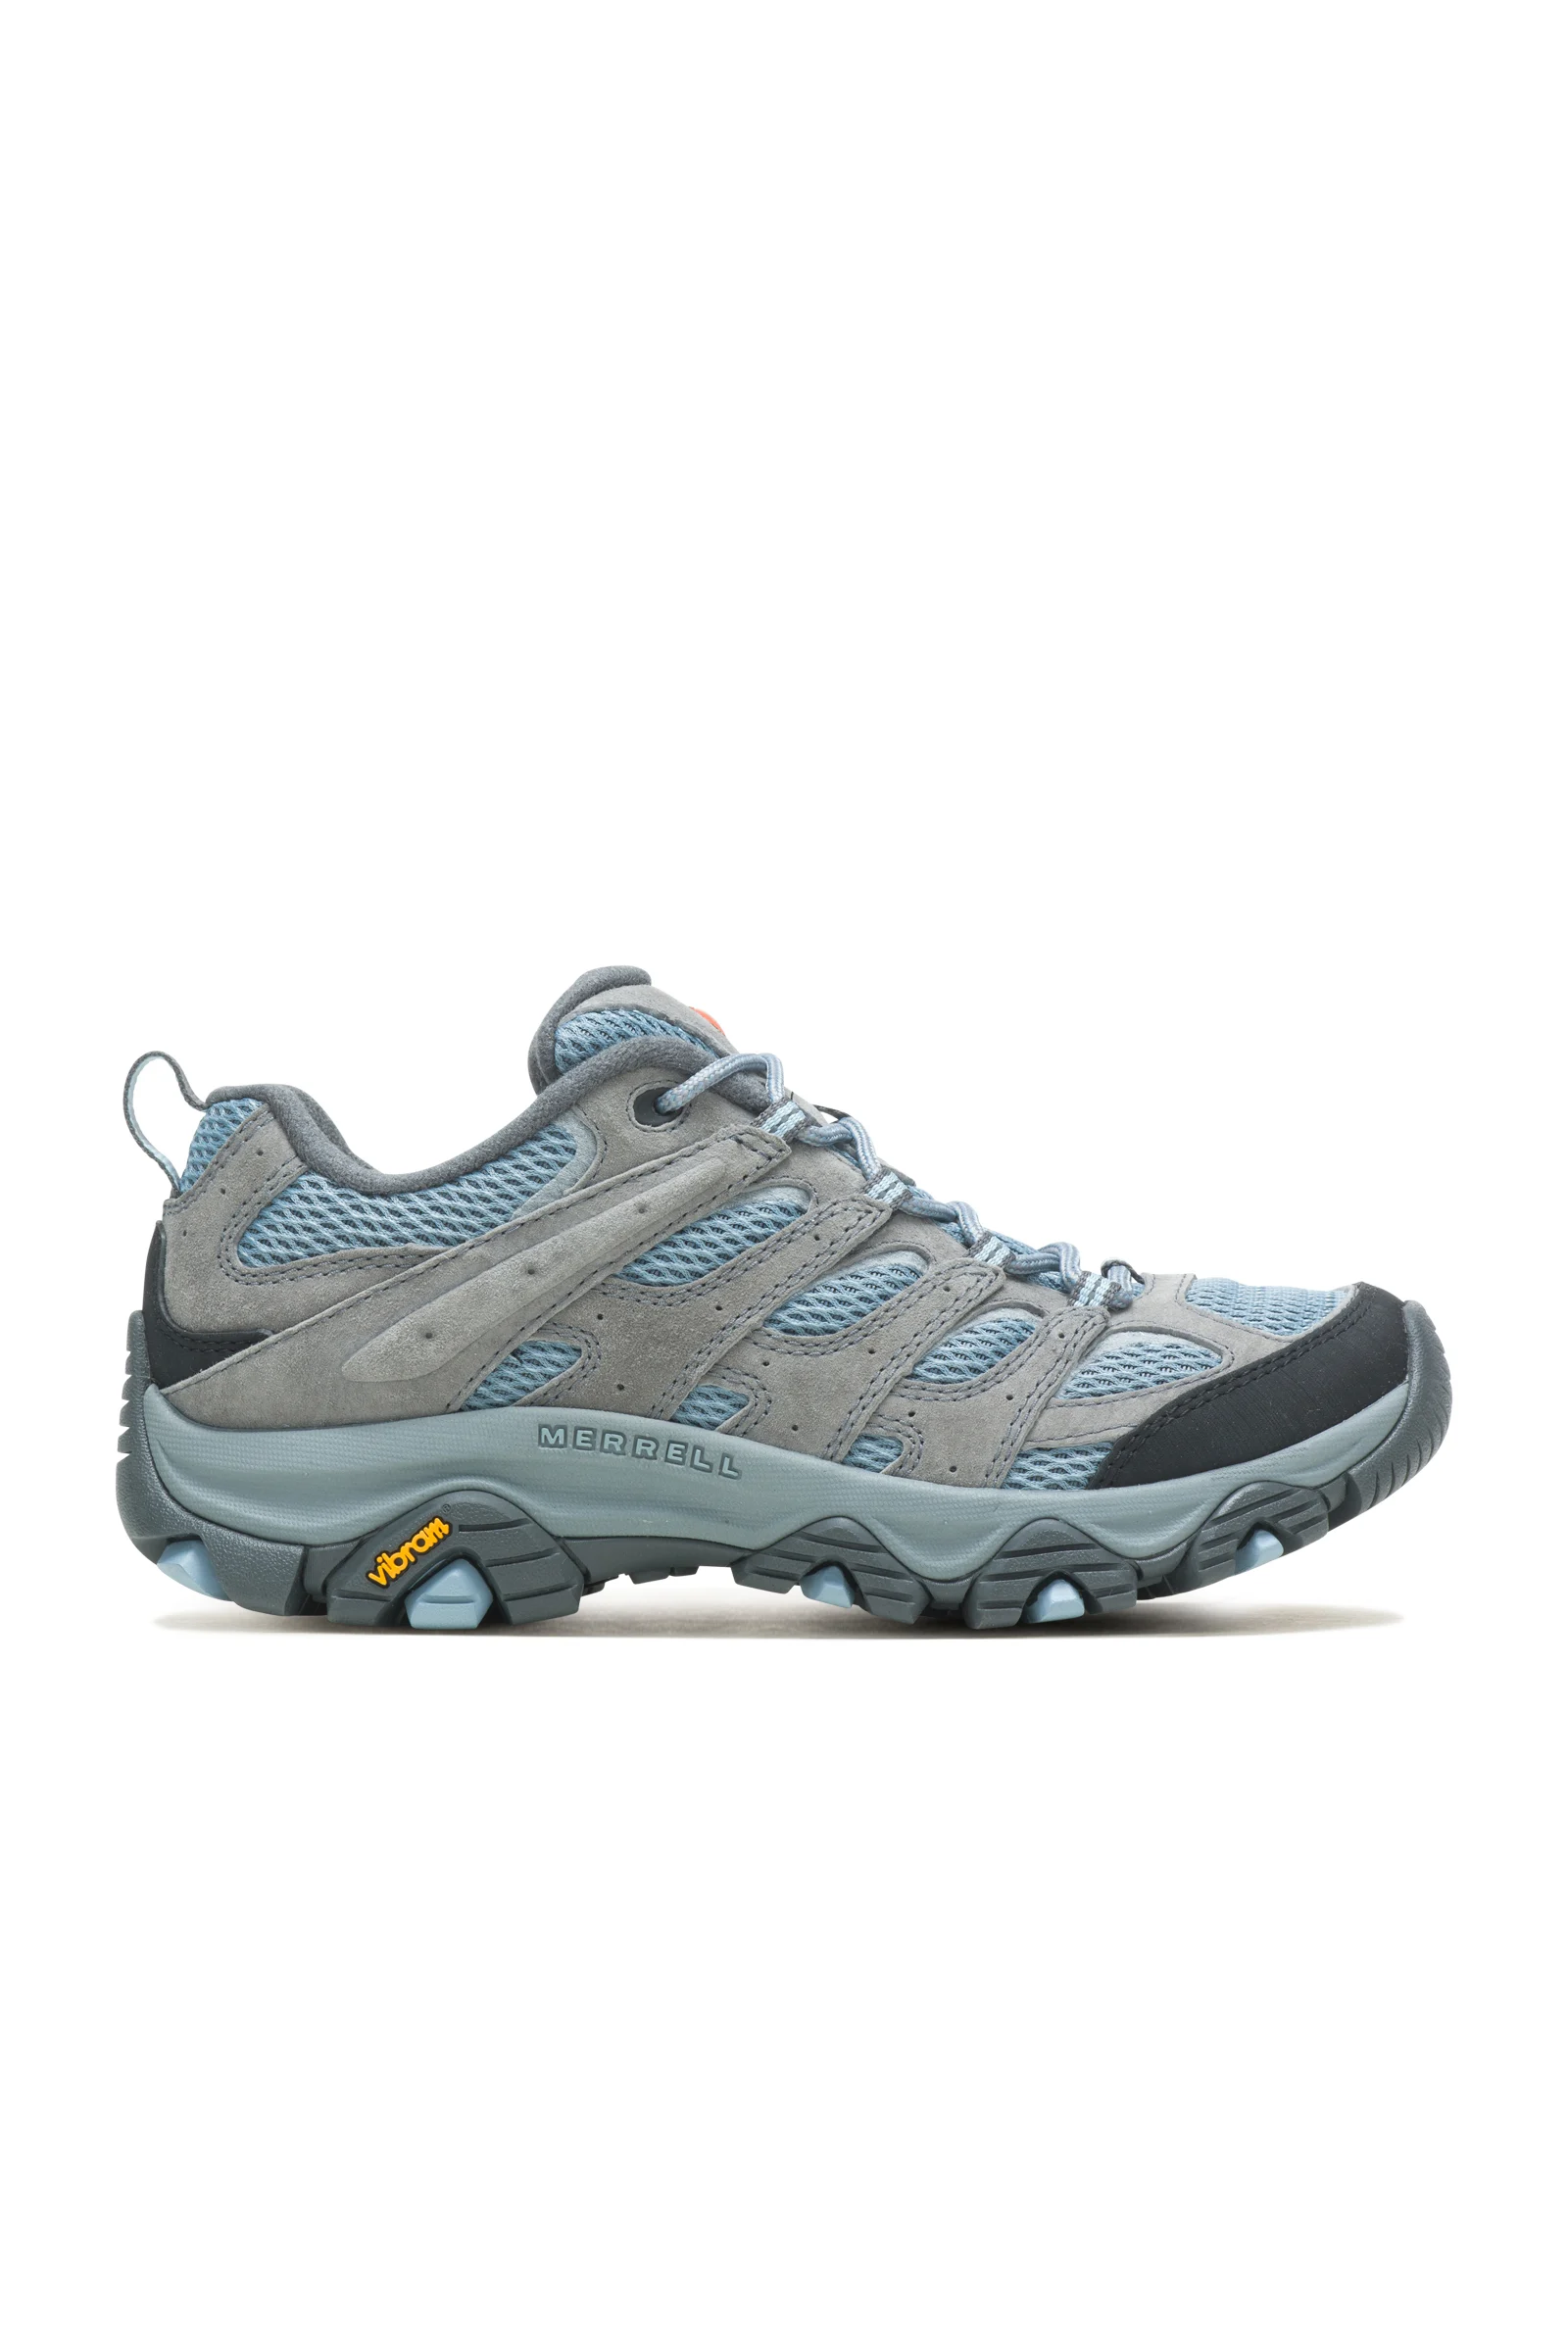
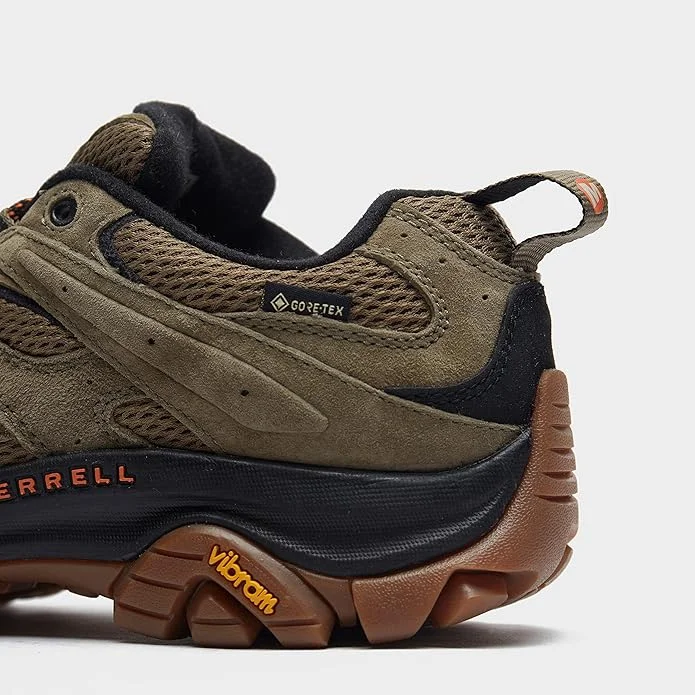
🥉 Merrell Moab 3 Mid GTX — the comfort–value sweet spot
A legendary all-rounder widely considered one of the most versatile hiking boots on the market.
- 🧱 Materials: suede leather + breathable synthetic mesh keep weight down and airflow up.
- 🌧️ Waterproofing: Gore-Tex membrane keeps feet dry while maintaining ventilation.
- ⚙️ Outsole: Vibram TC5+ with ~5 mm lugs for dependable traction on rock and in mud.
- 🦵 Support: mid-cut height and EVA midsole provide balanced support without feeling stiff.
- 🩰 Insole: Kinetic Fit ADVANCED removable insole adds arch and heel support.
- ⚖️ Weight: ~480 g per boot (women’s EU 38).
| Model | Stand-out Strength | Outsole / Lugs | Upper / Waterproof | Support / Chassis | Best For |
|---|---|---|---|---|---|
| Hoka Kaha 3 GTX | Plush cushioning + stable ride | Vibram Megagrip (~4 mm) | Nubuck + textiles / Gore-Tex | Supportive collar; stable platform | Mixed & wet terrain; long days |
| Salomon Quest 4 GTX | Control under heavy loads | Contagrip mountain pattern | Nubuck + mesh / Gore-Tex | High-cut; ADV/4D chassis | Mountains; multi-day; heavy packs |
| Merrell Moab 3 Mid GTX | Value & all-round comfort | Vibram TC5+ (~5 mm) | Suede + mesh / Gore-Tex | Mid-cut balance; removable insole | Day hikes; weekends; mixed trails |
Hiking Boots FAQ
What type of hiking boots should I buy for mixed terrain?
Mid-cut boots offer the best balance of comfort, stability, and weight for mixed terrain and moderate pack loads.
How should hiking boots fit?
Your toes should have about a finger’s width of space in front, the heel should be snug, and there should be no hot spots or pinching around the ankle.
Are Gore-Tex hiking boots worth it?
Yes, in wet or variable climates. They keep feet dry while allowing moisture to escape — ideal for rain, snow, and shoulder seasons.
How can I test hiking boot fit at home?
Use the three quick checks: Finger Test (heel), Toe Space Test (on a slope), and the Insole Test (one thumb’s width in front of the toes).
How long do hiking boots last?
With proper cleaning, drying, and care, quality boots typically last 800–1500 trail kilometers (about 3–5 years), depending on terrain and load.
Conclusion – How to Make the Right Choice
When it comes down to it, learning how to choose hiking boots isn’t about chasing the newest model — it’s about knowing yourself as a hiker. Your perfect boot depends on where you go, what you carry, and how your feet move over time. Choose comfort and fit first, and let the rest follow.
🦶 1️⃣ Fit is everything
- Even the best materials can’t save you if your boots don’t fit right.
- Test with hiking socks, check toe room and heel lock, and don’t hesitate to size up slightly for long descents.
🪶 2️⃣ Match materials to your terrain and climate
- Leather shines in cold, wet, or alpine conditions.
- Synthetics breathe better and dry faster in warm, dry weather.
- A Gore-Tex membrane is a great all-rounder for year-round use — just remember to keep it clean and reproofed.
⚖️ 3️⃣ Balance weight, support, and protection
- Light boots save energy, heavy boots save ankles — find your middle ground.
- Mid-cut, mid-weight Gore-Tex boots are the most versatile choice for most hikers.
♻️ 4️⃣ Take care of them
- Clean after every trip, dry properly, and refresh the waterproofing once in a while.
- A few minutes of maintenance will double the life of your investment.
💬 Marcus’ final word: After thousands of trail kilometers, I’ve learned one simple truth — your boots are your foundation. Pick them with care, break them in with patience, and they’ll carry you confidently through every step, climb, and storm.
Disclosure: This post contains affiliate links. If you make a purchase through them, we may earn a small commission – at no extra cost to you. Thank you for supporting our work!

Hike-wise. Pack light. Choose a gear you can count on.
See you out there under the stars.